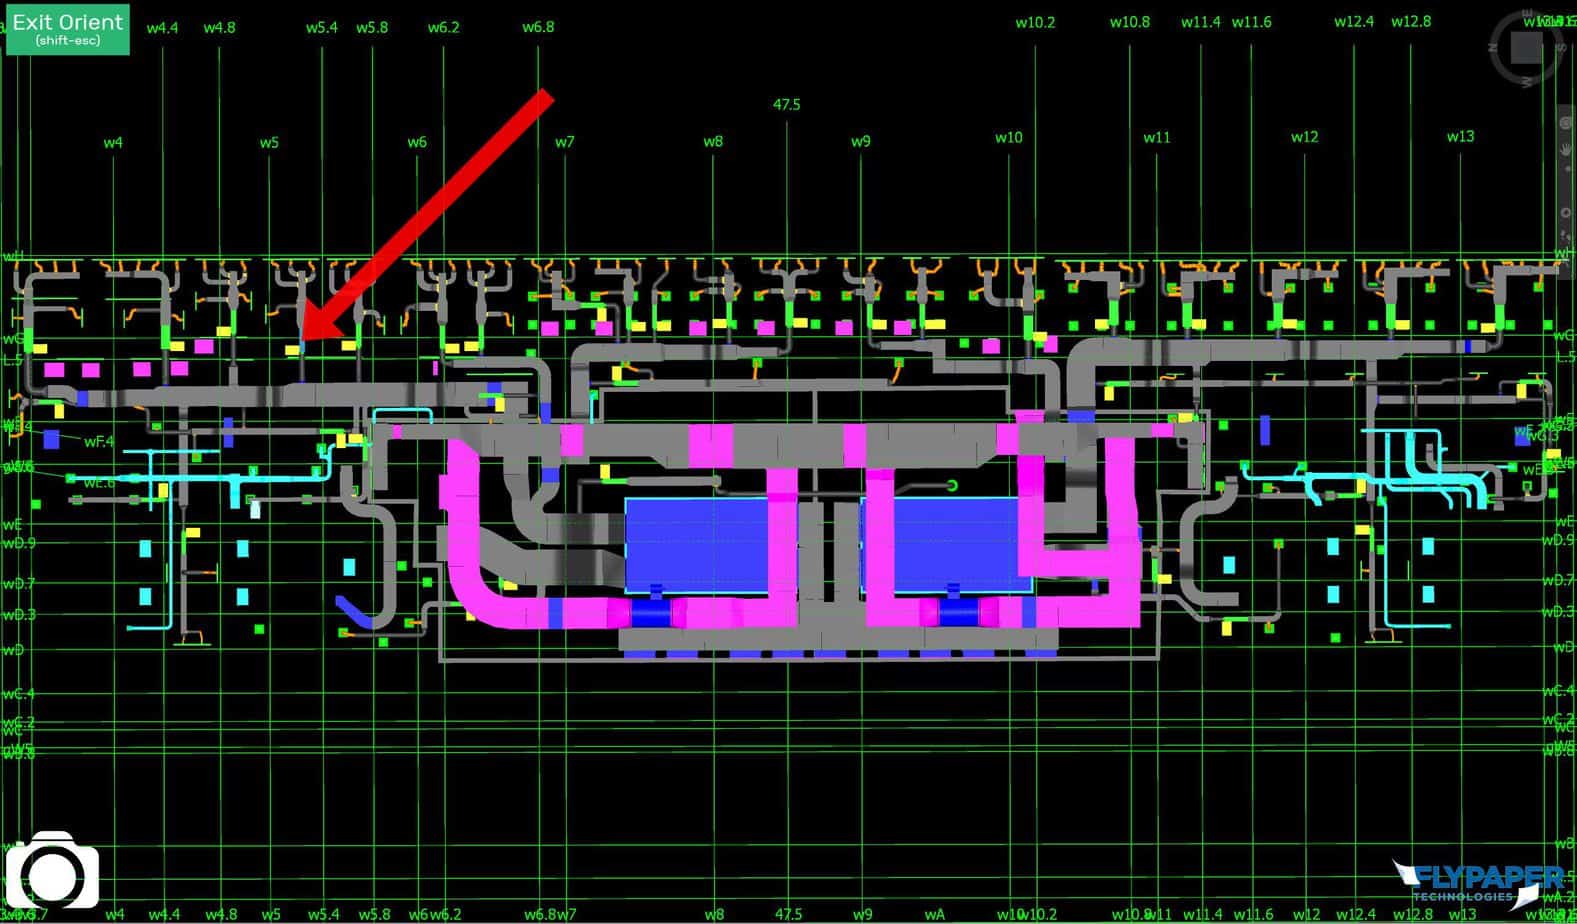
Sometimes it’s easy to forget that Orient even exists since it is only accessible by right-clicking on a model item(s) within Navisworks. Despite this, Orient is one of the most versatile tools that Sherlock has to offer. Yes, it’s great for pointing out a location to a specific detailer, but it can be used for much more. Let’s take a deep dive into the ways Sherlock users are utilizing this feature.
Isolating a system or systems for review
By default, Orient will isolate a specific system based on what model item is selected at the time. While this is great for pointing out a location to a detailer, it can also be used outside of meetings to simply review a system by itself to get a better understanding of the routing in an area.
Selecting two models
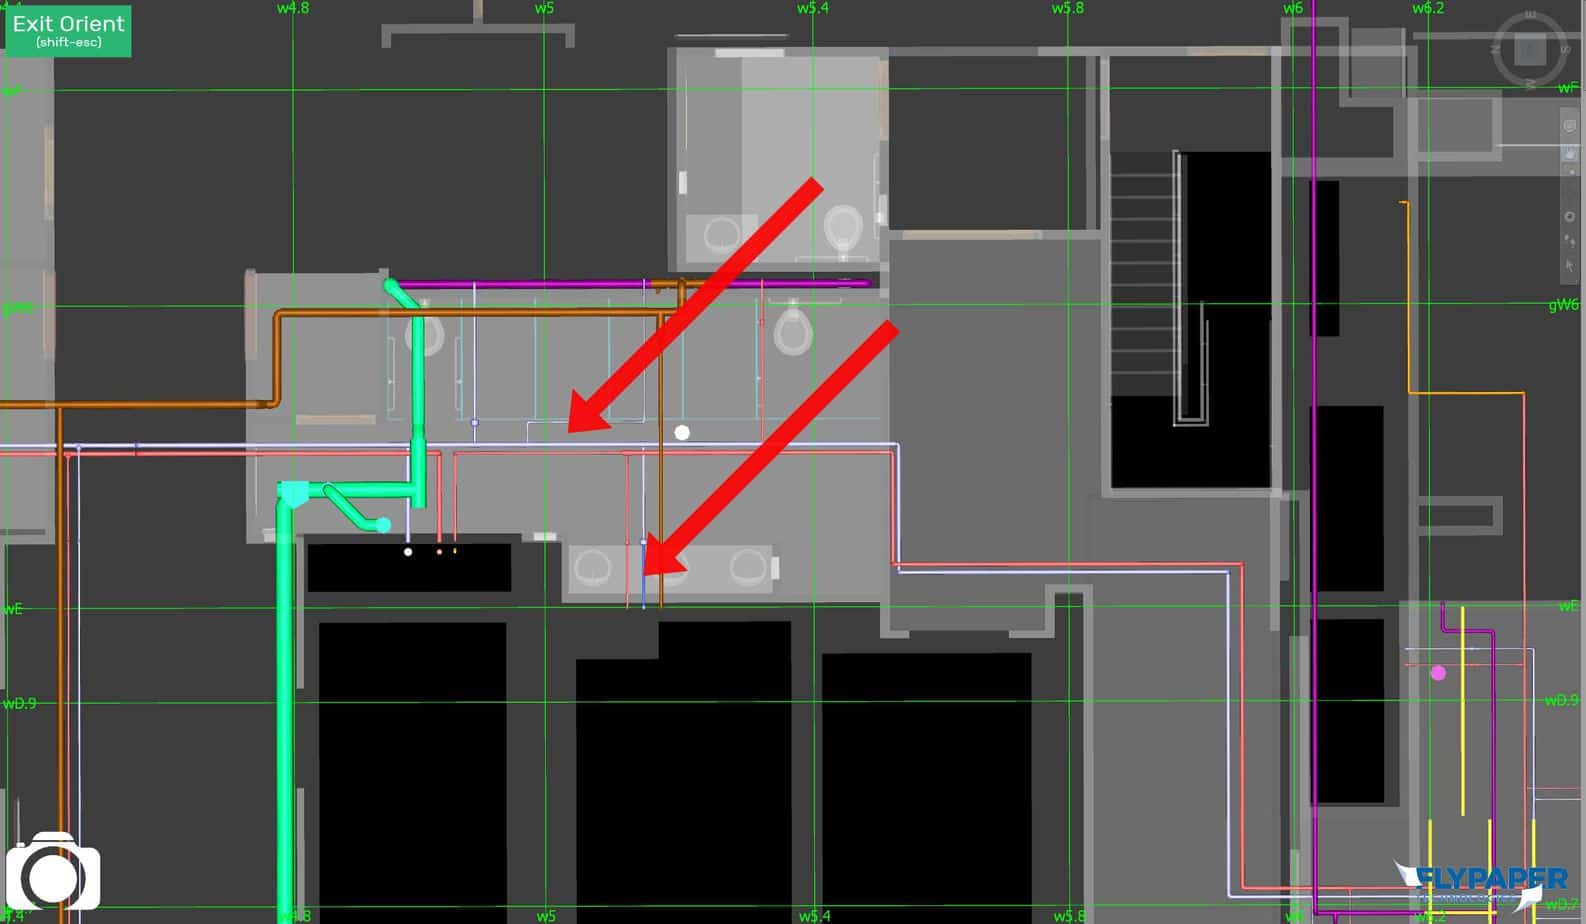
Also, don’t forget, if you select model items that are in two different models, Orient will isolate both of the models for you. This can be great for checking wall conflicts against ductwork, ensuring every fixture has water run to it, or for checking that every Variable Air Valve (VAV) has a Mechanical Pipe connection.
Viewpoints as notes
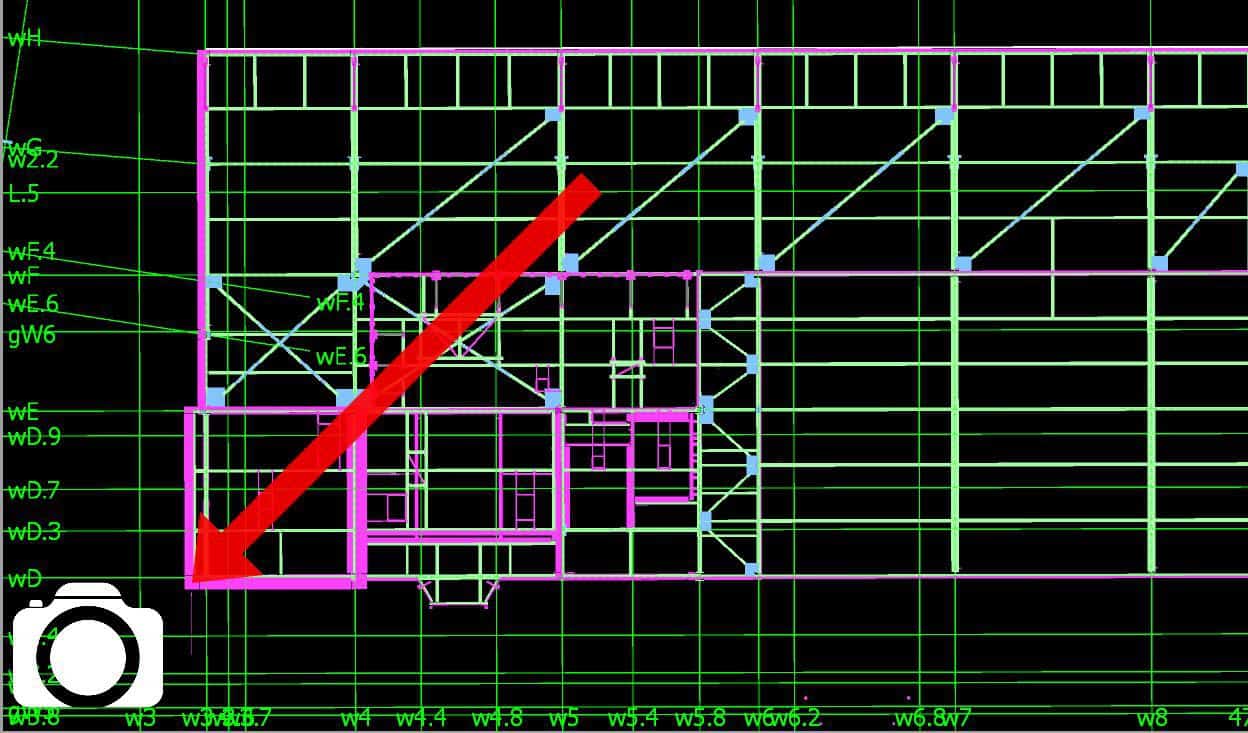
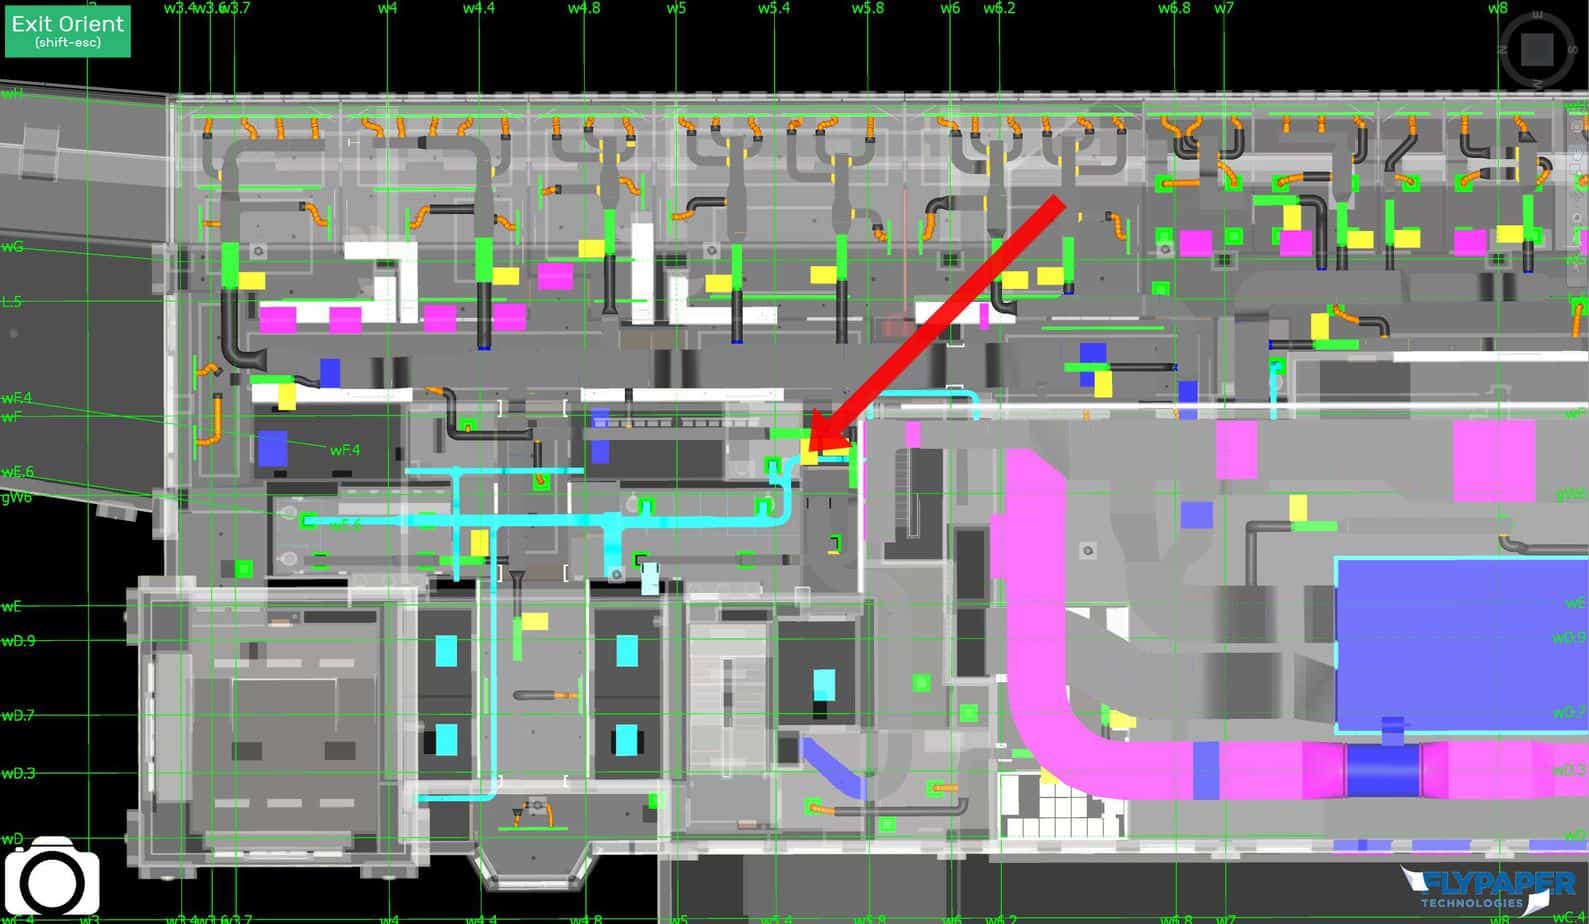
Orient has another great feature built into it for creating viewpoints, but it is sometimes overlooked. In the floor plan view of Orient, there is a large camera button shown in the lower left-hand corner.
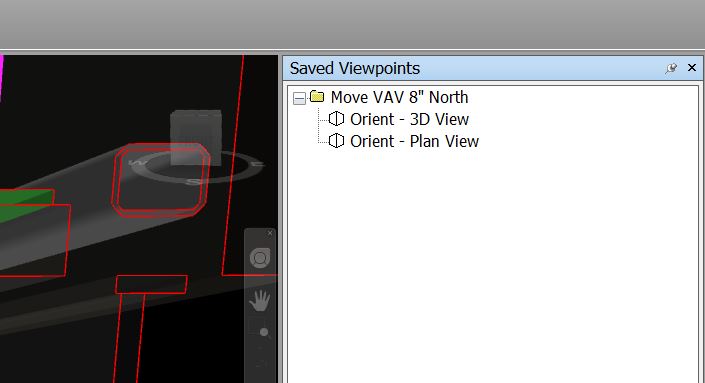
By clicking on that button Orient will create two Saved Viewpoints (one in a 3D view and another in plan view) that point out the model item(s) you had selected. Between these two views, it is simple for anyone to understand the exact spot you are referring to.
Click the camera button in the lower left-hand corner to save a viewpoint.
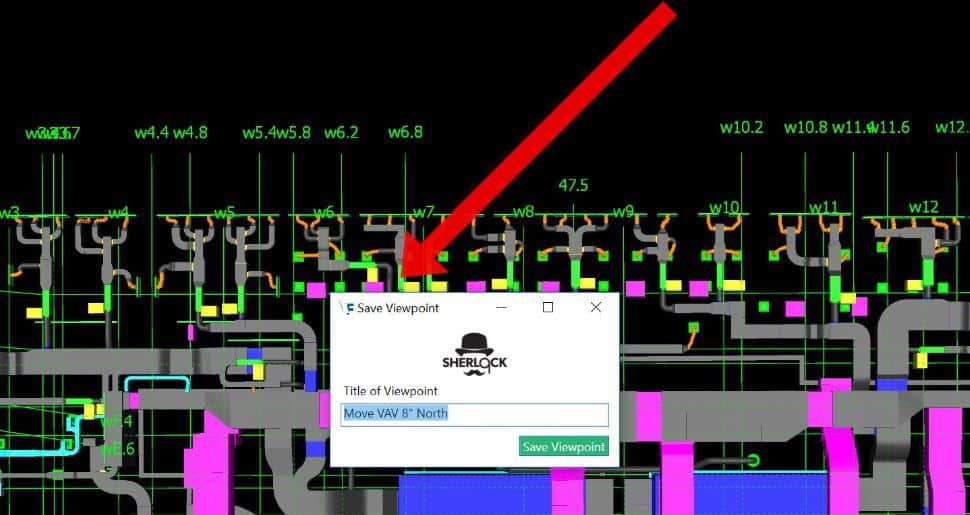
The viewpoint can be titled with a note about what was decided during a coordination meeting.
A 3D view and a plan view of the model item(s) are saved into Naviswork’s Saved Viewpoints panel.
Persist model items in plan view
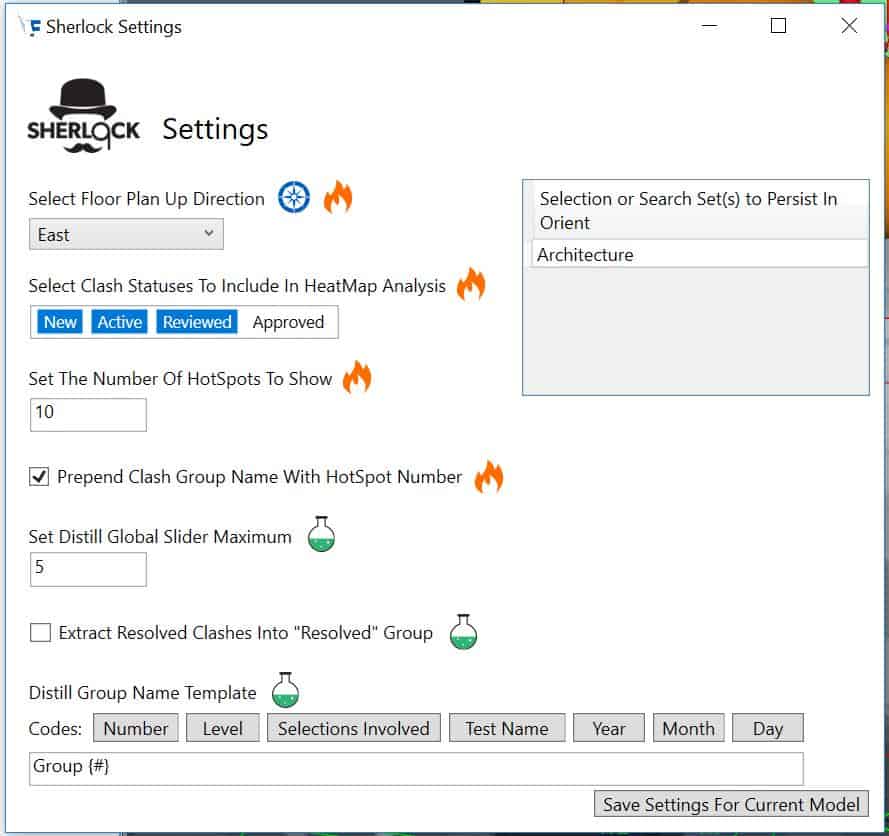
This tip is less of a Pro Tip and more of an advanced setting you may not be aware of. With Orient, you have the ability to select items that should remain shown while in the plan view.
This is useful in the situations you would like the architectural model to remain visible, regardless of which system you had selected so that you can still see the room outlines. Another common situation is you may have a grid line model you use instead of the Revit-based grids and would like that to remain visible.
In order to take advantage of Orient’s ability to keep arbitrary model items visible while in plan view, you simply have to create a Navisworks Selection Set or Search Set of the items, and then within the settings menu select that Set in the “Model Items to Persist” section and hit save.
Orienting to a duct with the Architectural model is still shown due to Orient’s Persist setting.
Tell us how you use orient!
Hopefully, these tips sparked ideas on how you can use Orient to its fullest extent in your own workflow! Also, let us know in the comments if you have other ways you use Orient or if there are features you would like to see implemented.

